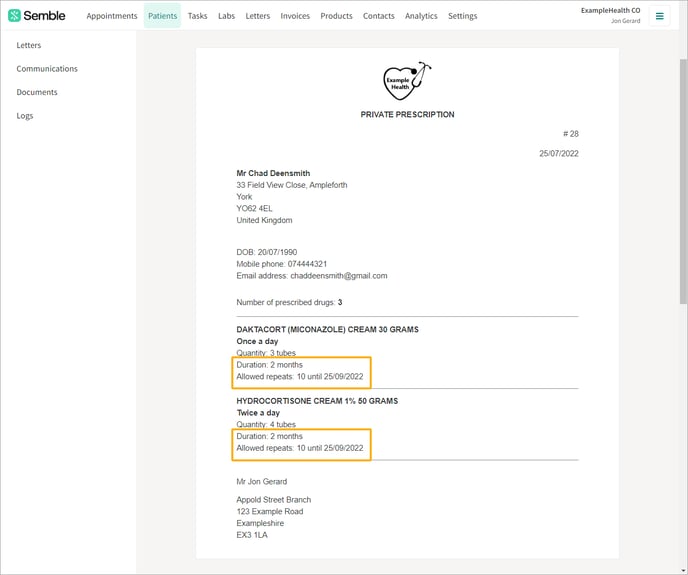
You can now transfer prescriptions directly to CloudRx from Semble. There are also pharmacy integrations available for SignatureRx, Somer Pharmacy, Pharmacierge, Clynxx and Smartway.
Note: To set up the integration, you must have a role assigned to you that gives you the relevant permissions.
In this article:
Set Up CloudRX
IWhen you have met the requirements for the ClouxRx integration, you can set it up from the Settings page in Semble:
1. Go to the Lab and pharmacy settings tab.
2. Scroll down to the Pharmacy settings section, then click Add pharma account.
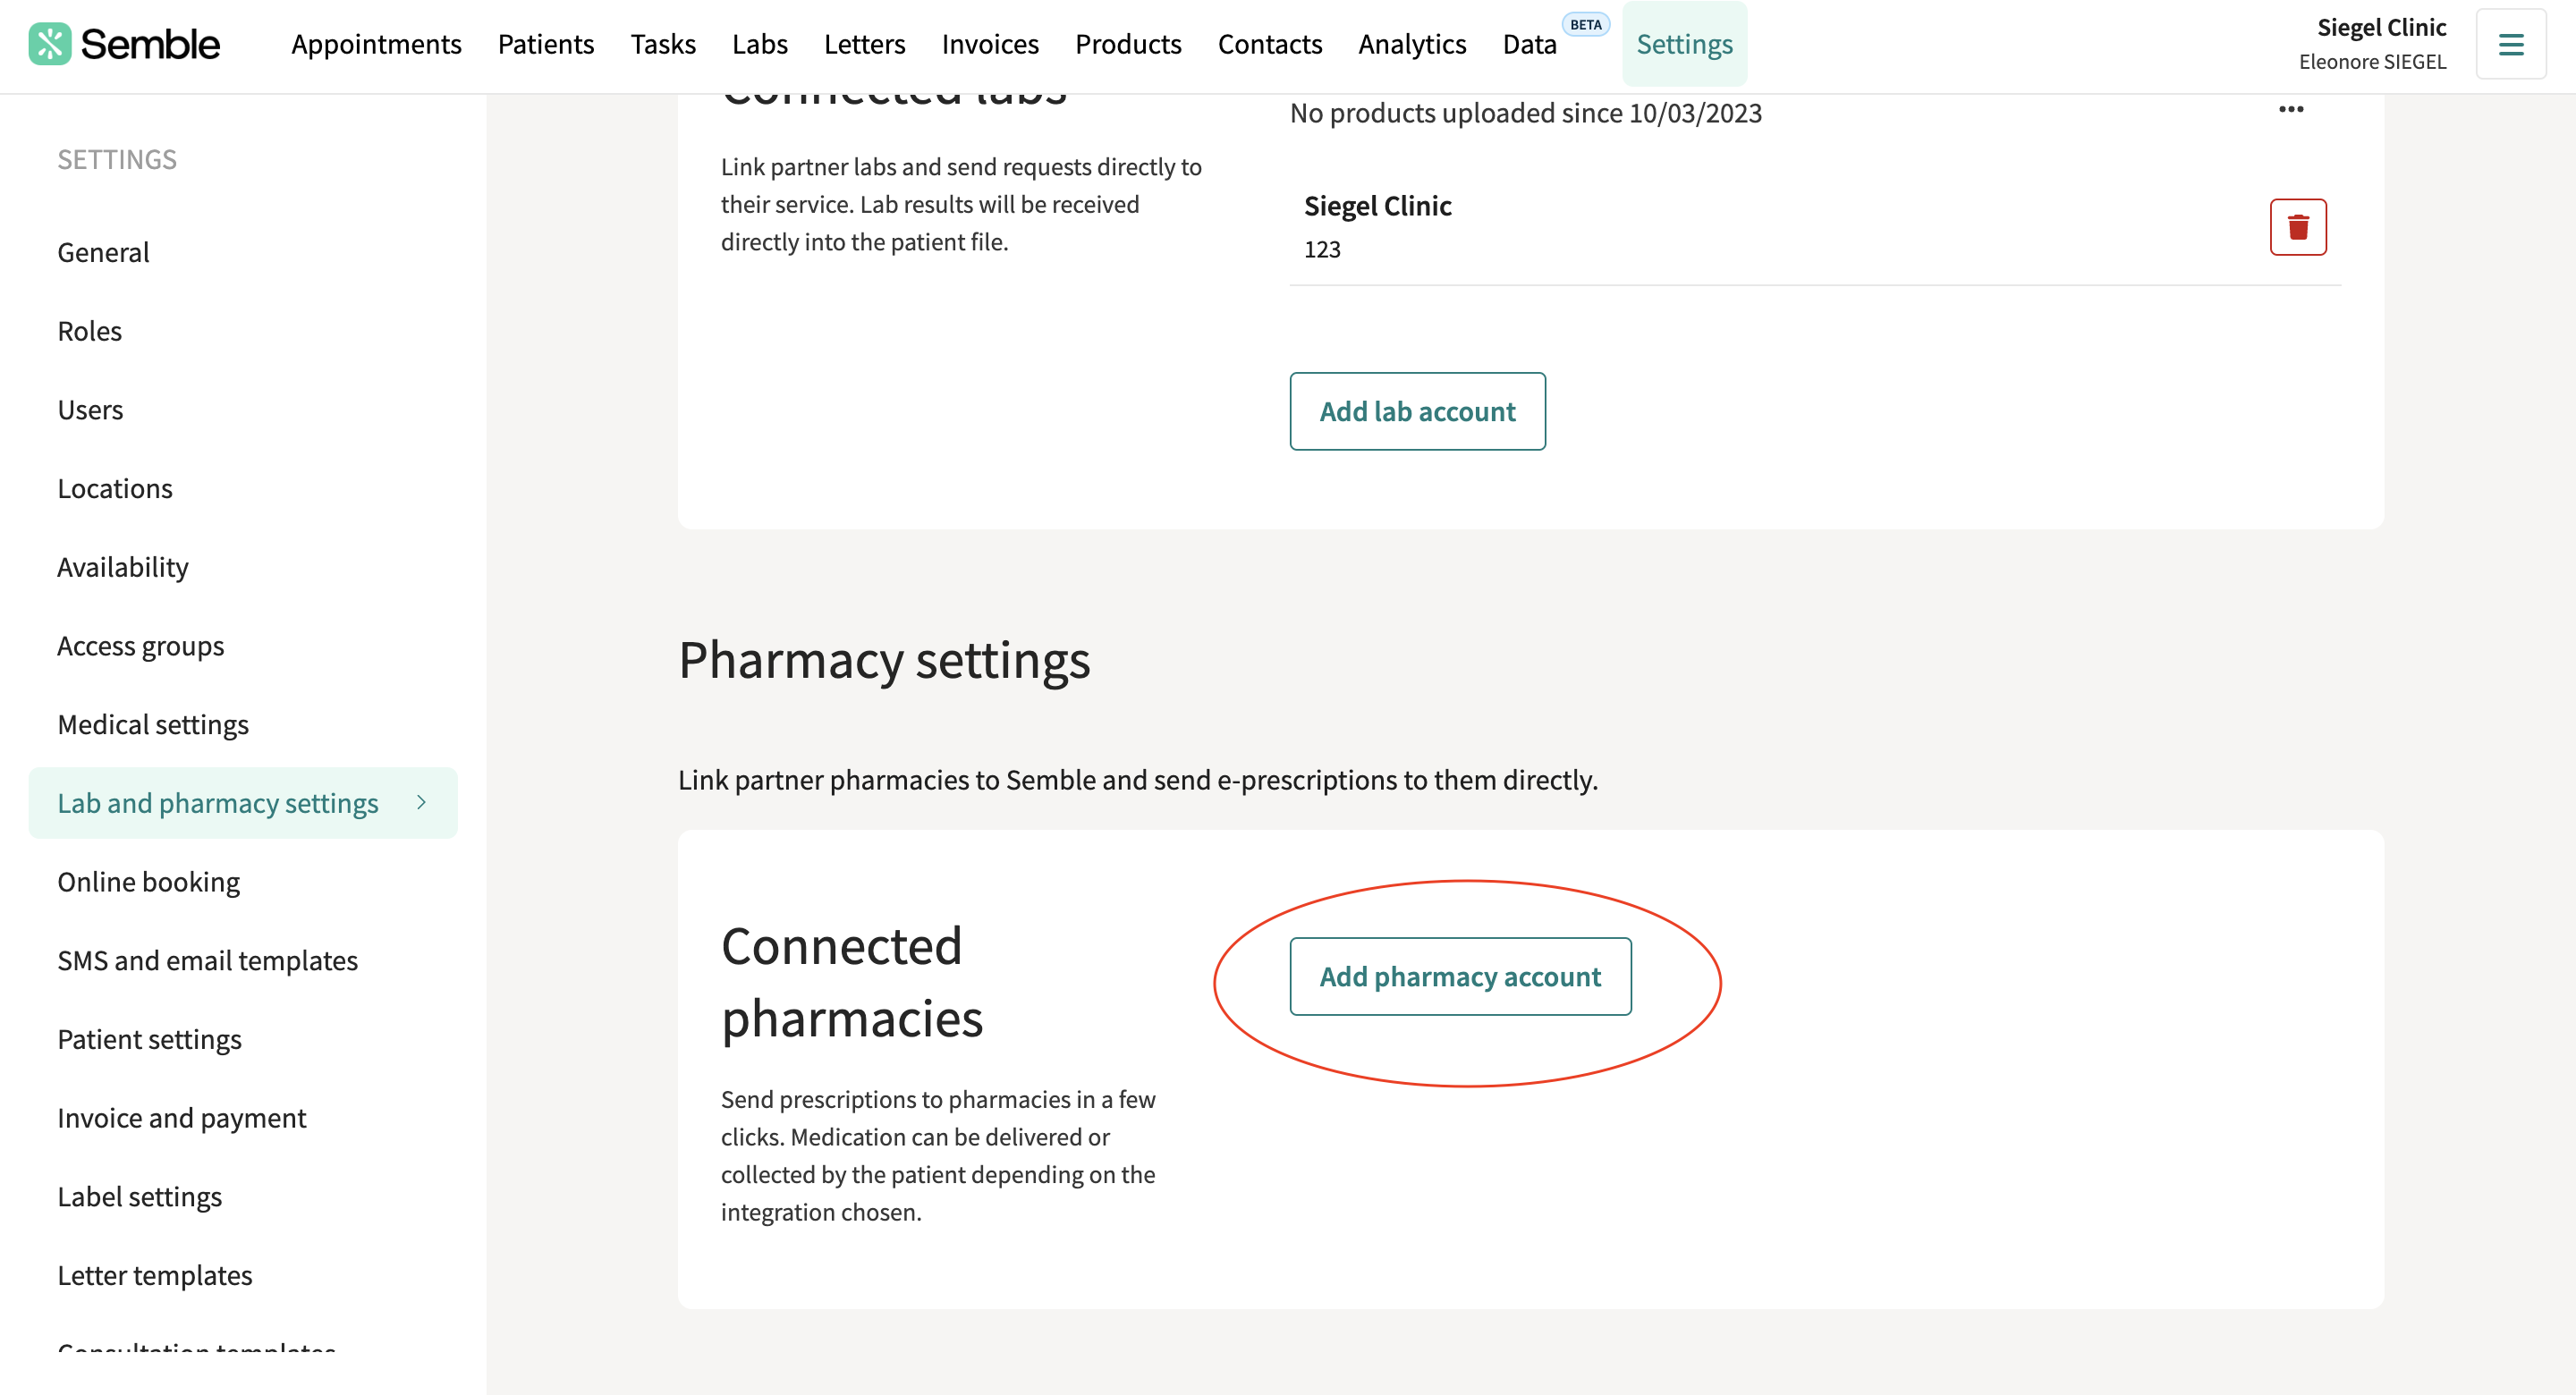
3. Fill in the integration details.
-
Provider: Click on the arrow in order to select CloudRX
-
Account Name: Enter the name of your practice
-
ID Source: Enter the source code provided by your CloudRX account manager
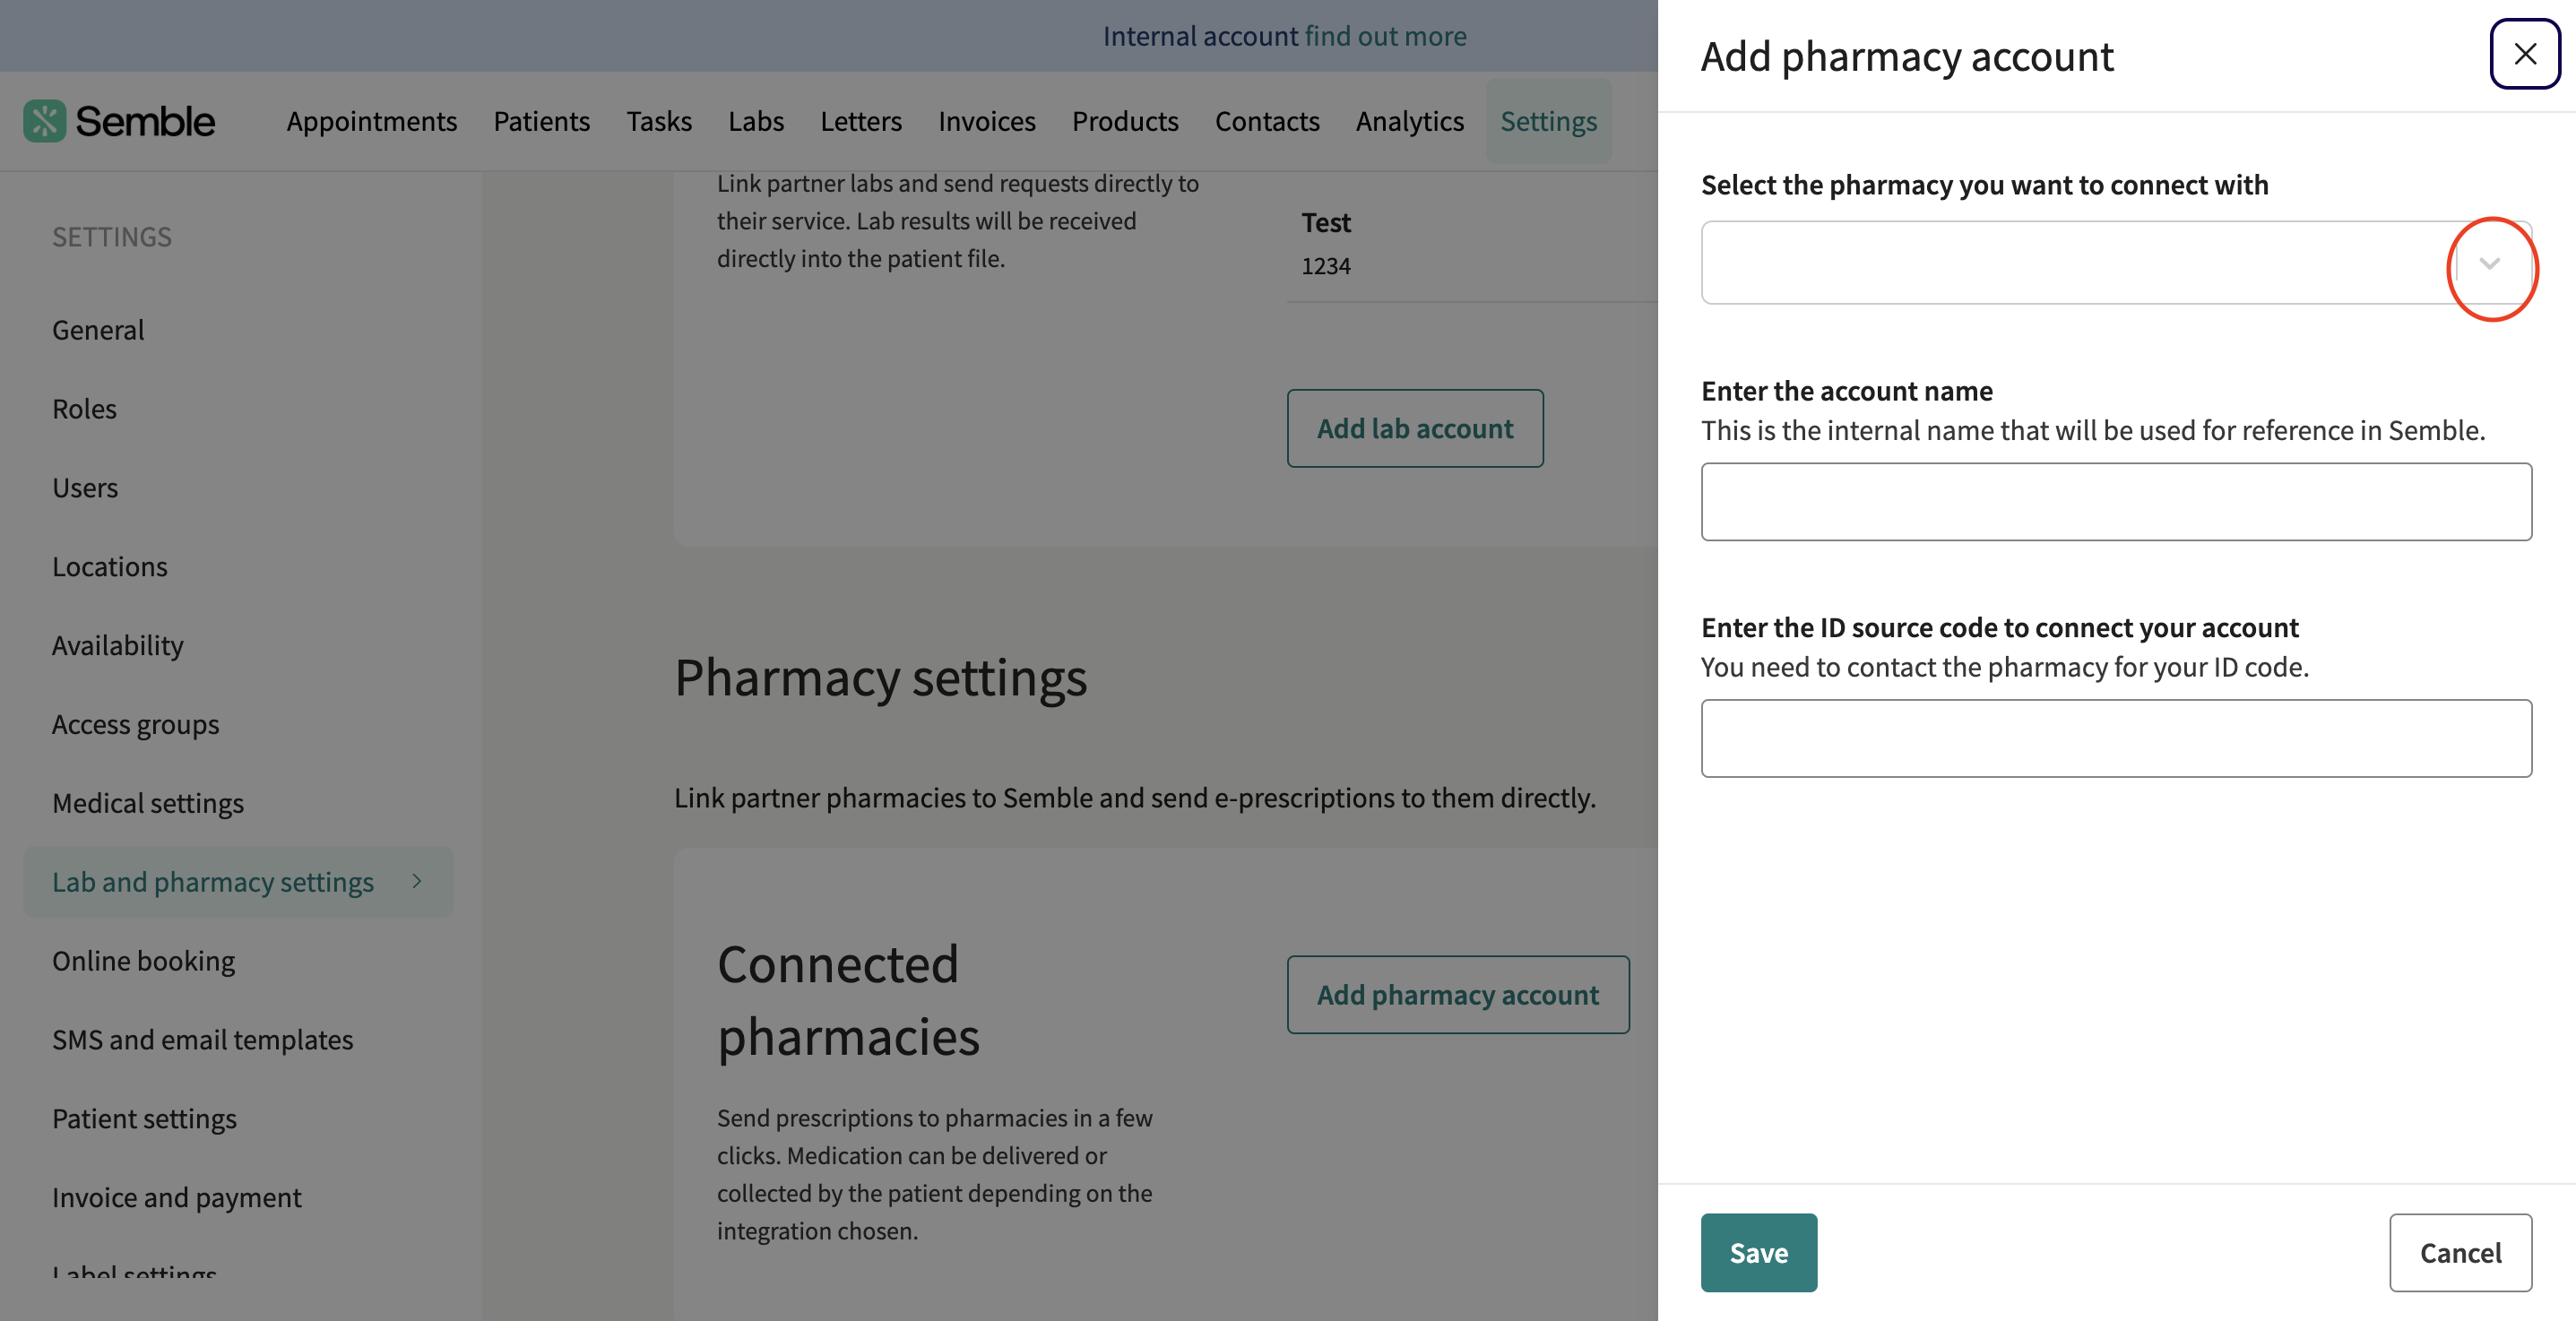
4. Click Save to confirm the details.
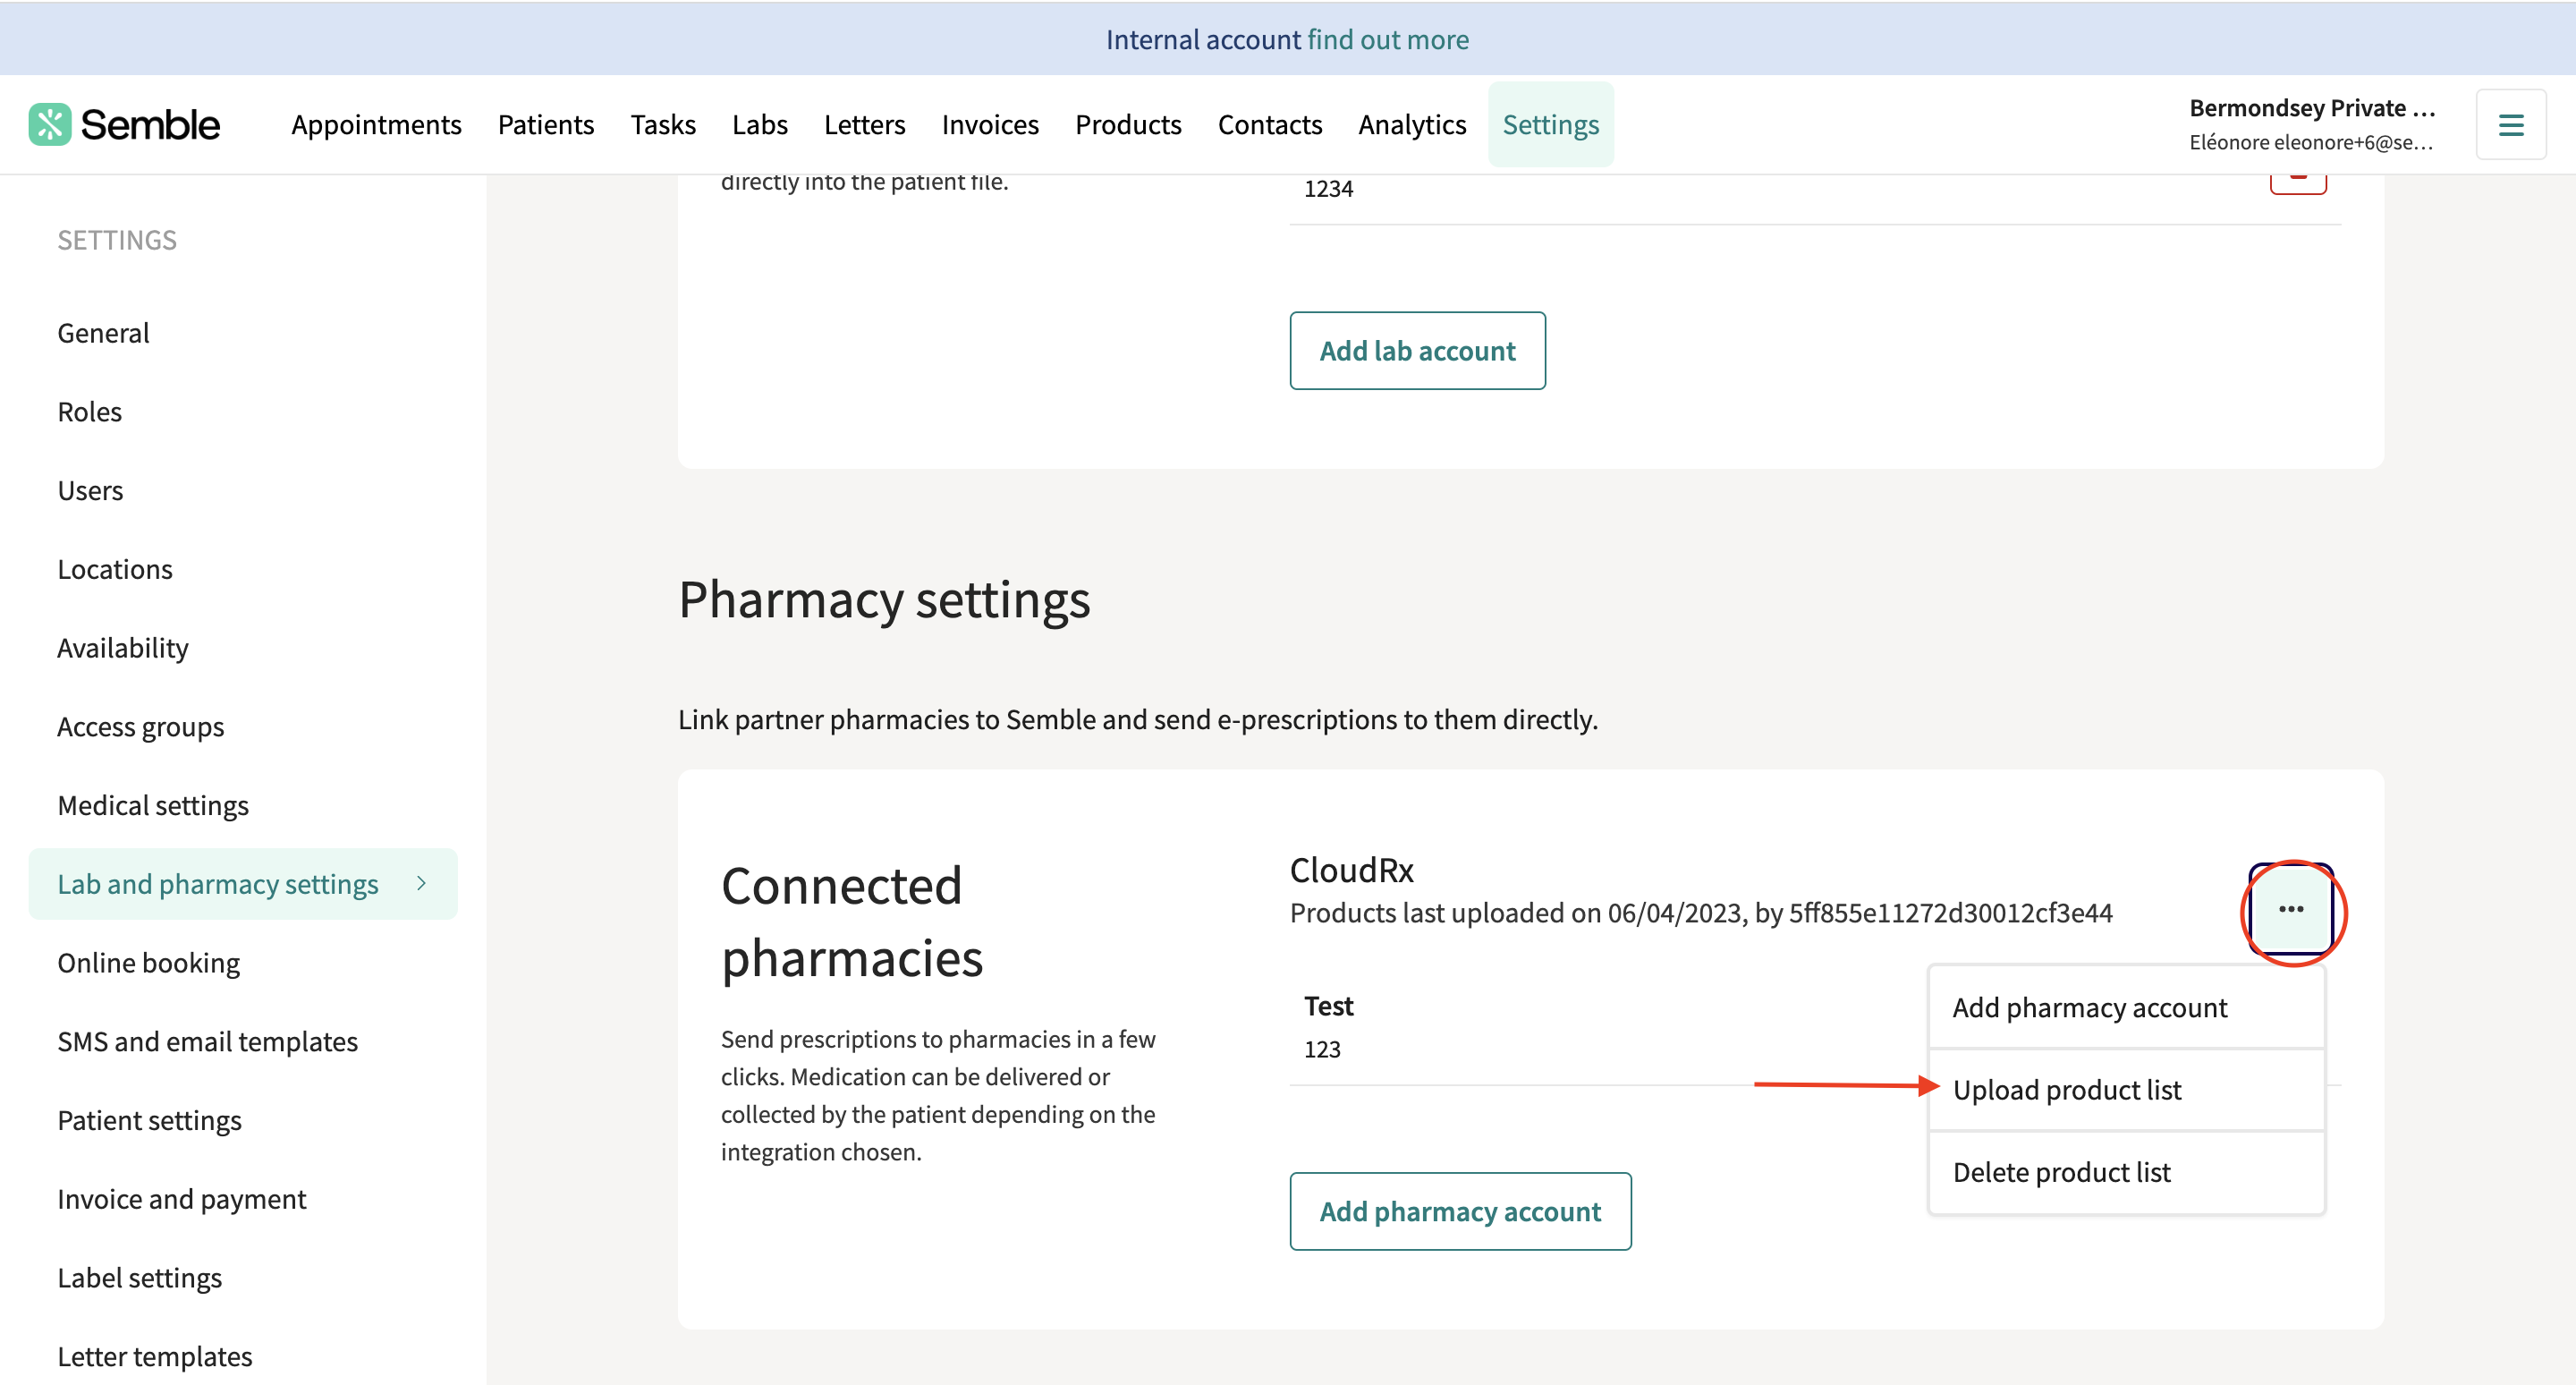
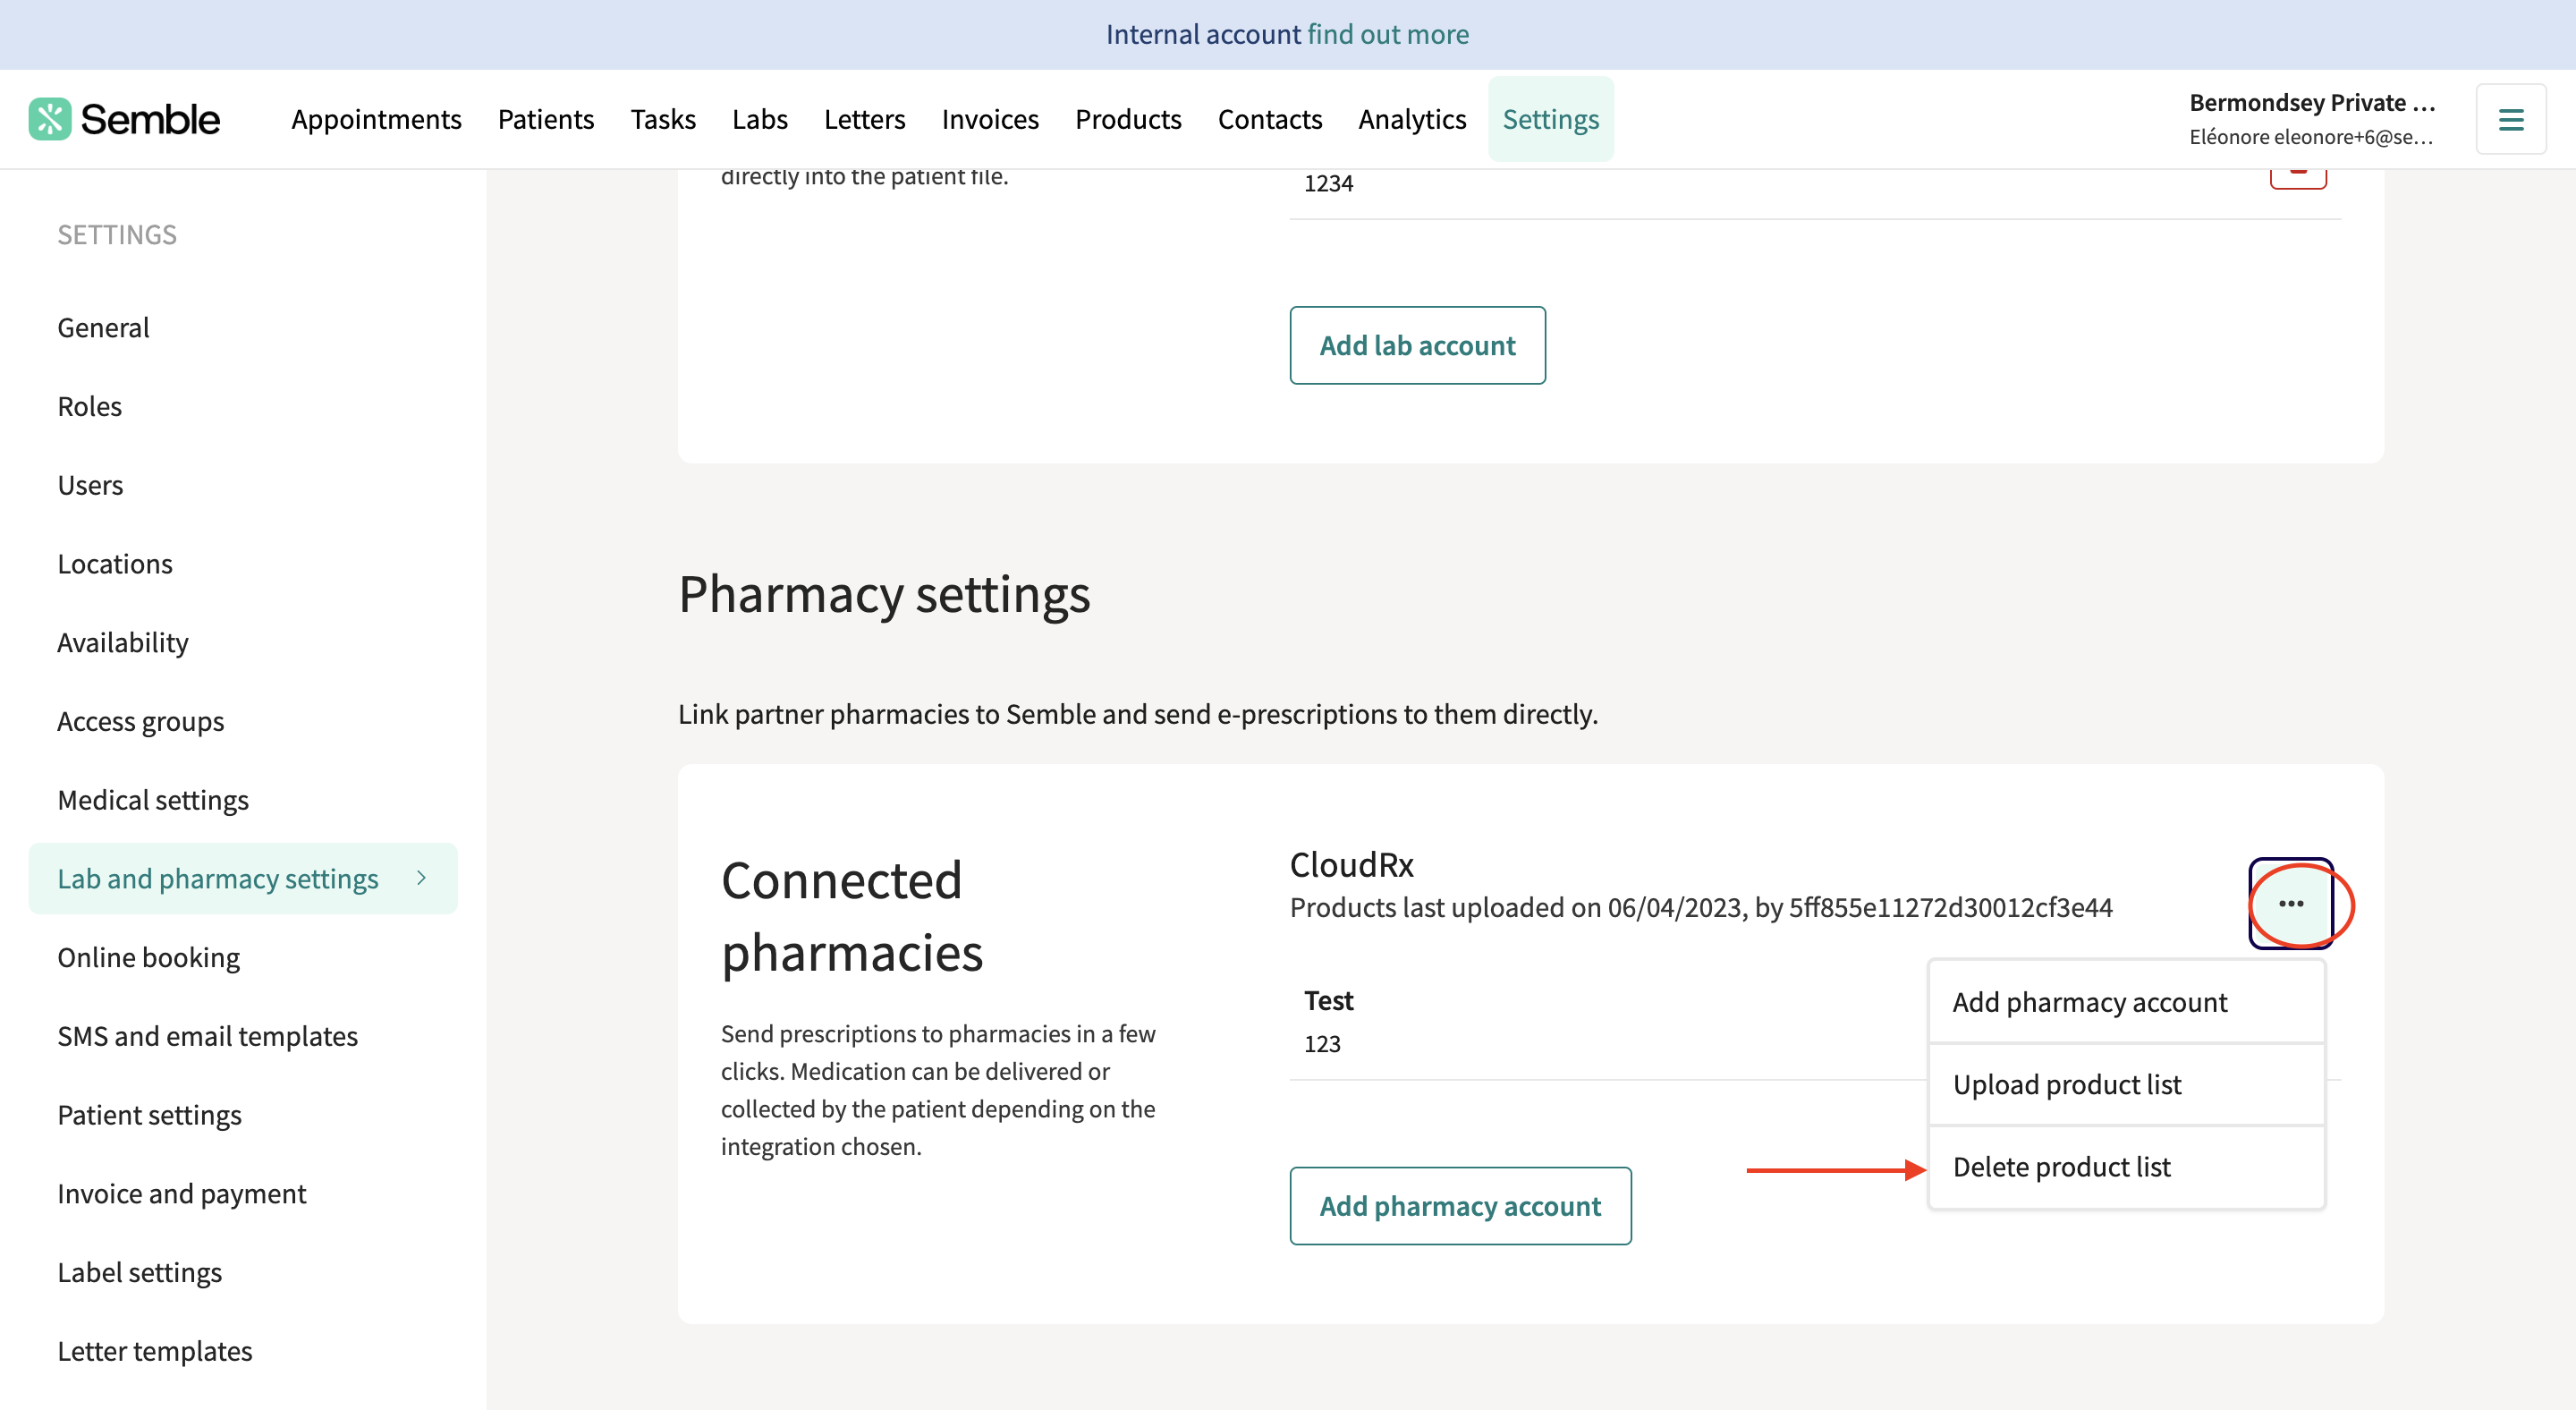
5. To upload the standard CloudRX list click on the three dots and click Upload product list:
6. If you would like to add a markup click 'Yes' for "Do you want to overwrite your prices with the prices in the new list". If you would not like to add a markup click 'No'
7. (Optional) Now you can type in the box 'Markup' and then click 'Save'
Semble uploads the list to your clinic's database. The lab tests will appear as individual products in the Products page. This will start immediately but can take up to an hour to complete.
When the CloudRX product list has been uploaded, you will then be able to submit a prescription to CloudRX. For information on how to do this, see here.
Note: When sending prescriptions to CloudRX from Semble, it is important that only CloudRX products are used. It is not possible to use medications outside of the CloudRX database.
Remove CloudRX list of products
To remove the product list you have added into Semble click on the three dots next to the connected pharmacy account and select 'Delete product list'. This function will help you with the lists that are no longer needed or may have been added by mistake.
Create a CloudRX Prescription for a Patient
When you have fully set up the CloudRX integration, you can generate a prescription for a patient:
1. Create a new consultation note as your normally would. For information on how to do this, see here.
2. Click the Medication tag at the bottom of the notes.

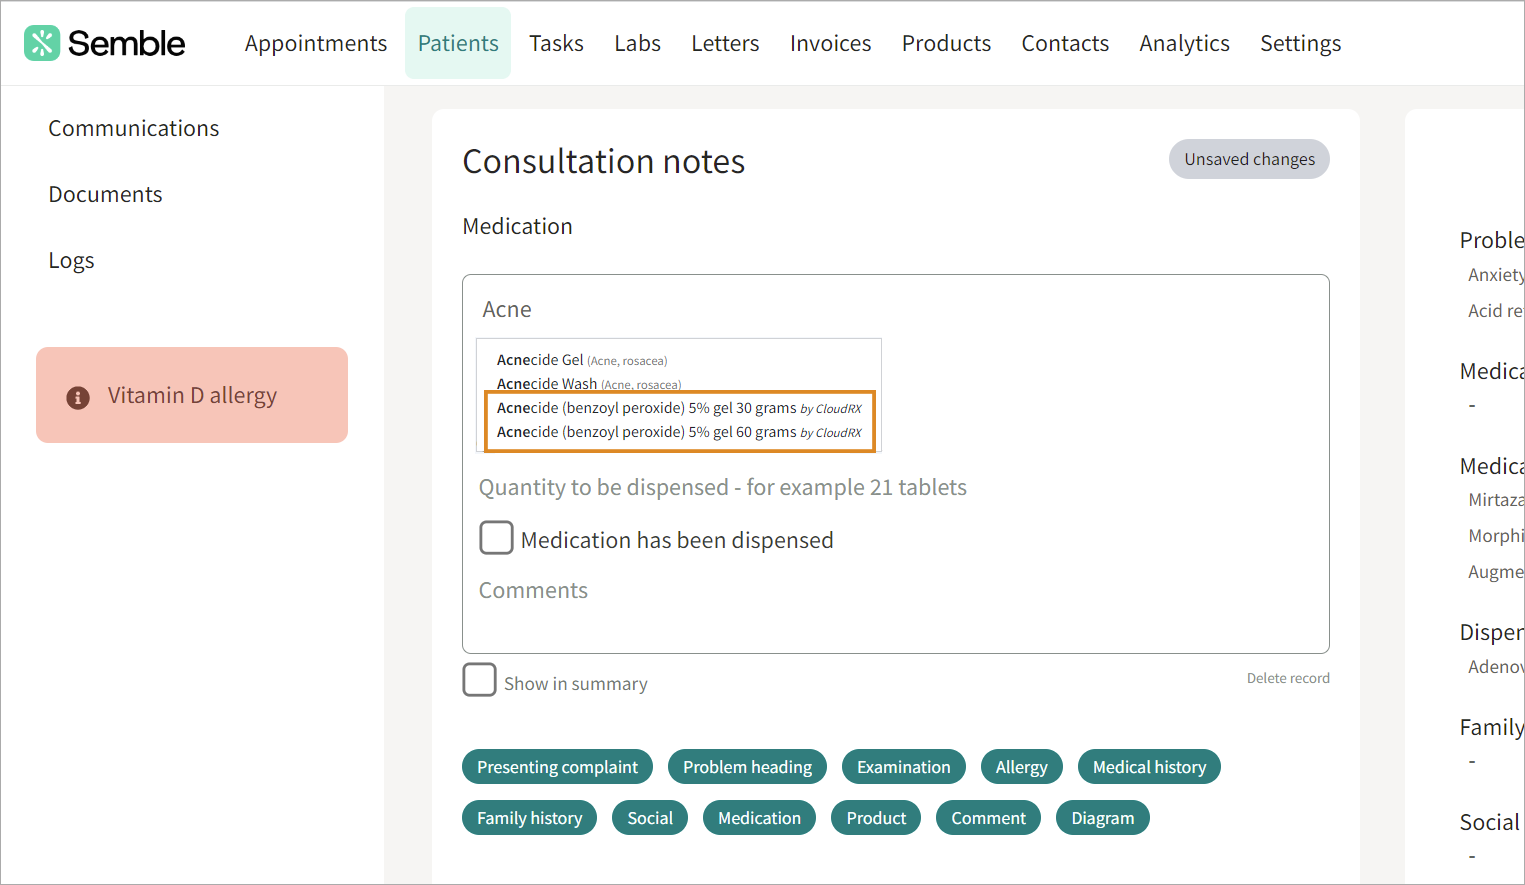
3. Select the CloudRX medication you want to prescribe.
Note: Make sure the medication has by CloudRX after its name.
4. Enter the rest of the prescription details as you normally would.
-
Dosage: Enter the dosage as indicated
-
Quantity: Enter a whole number. For example, if you want to prescribe one box, enter '1'
-
(Optional) Medication has been dispensed: Tick this box to enter the batch number and expiration details
-
(Optional) Comments: Type any additional comments you have for the patient
-
Show in summary: Choose whether you want this prescription to appear on the patient's record or not
5. Fill out the rest of the consultation note as you normally would.
6. Click Save.
The prescription will appear in the Prescriptions tab in the patient record. You can now submit the prescription to CloudRX.
Submit a Prescription to CloudRX
When you have fully set up the CloudRX integration, you can submit a prescription to it at any time:
1. Create a prescription with a medication that is listed in the CloudRX database. For information on how to create a prescription, see above.
2. Go to the Prescriptions tab in the patient record.
3. Select the prescription that you want to send to CloudRX.
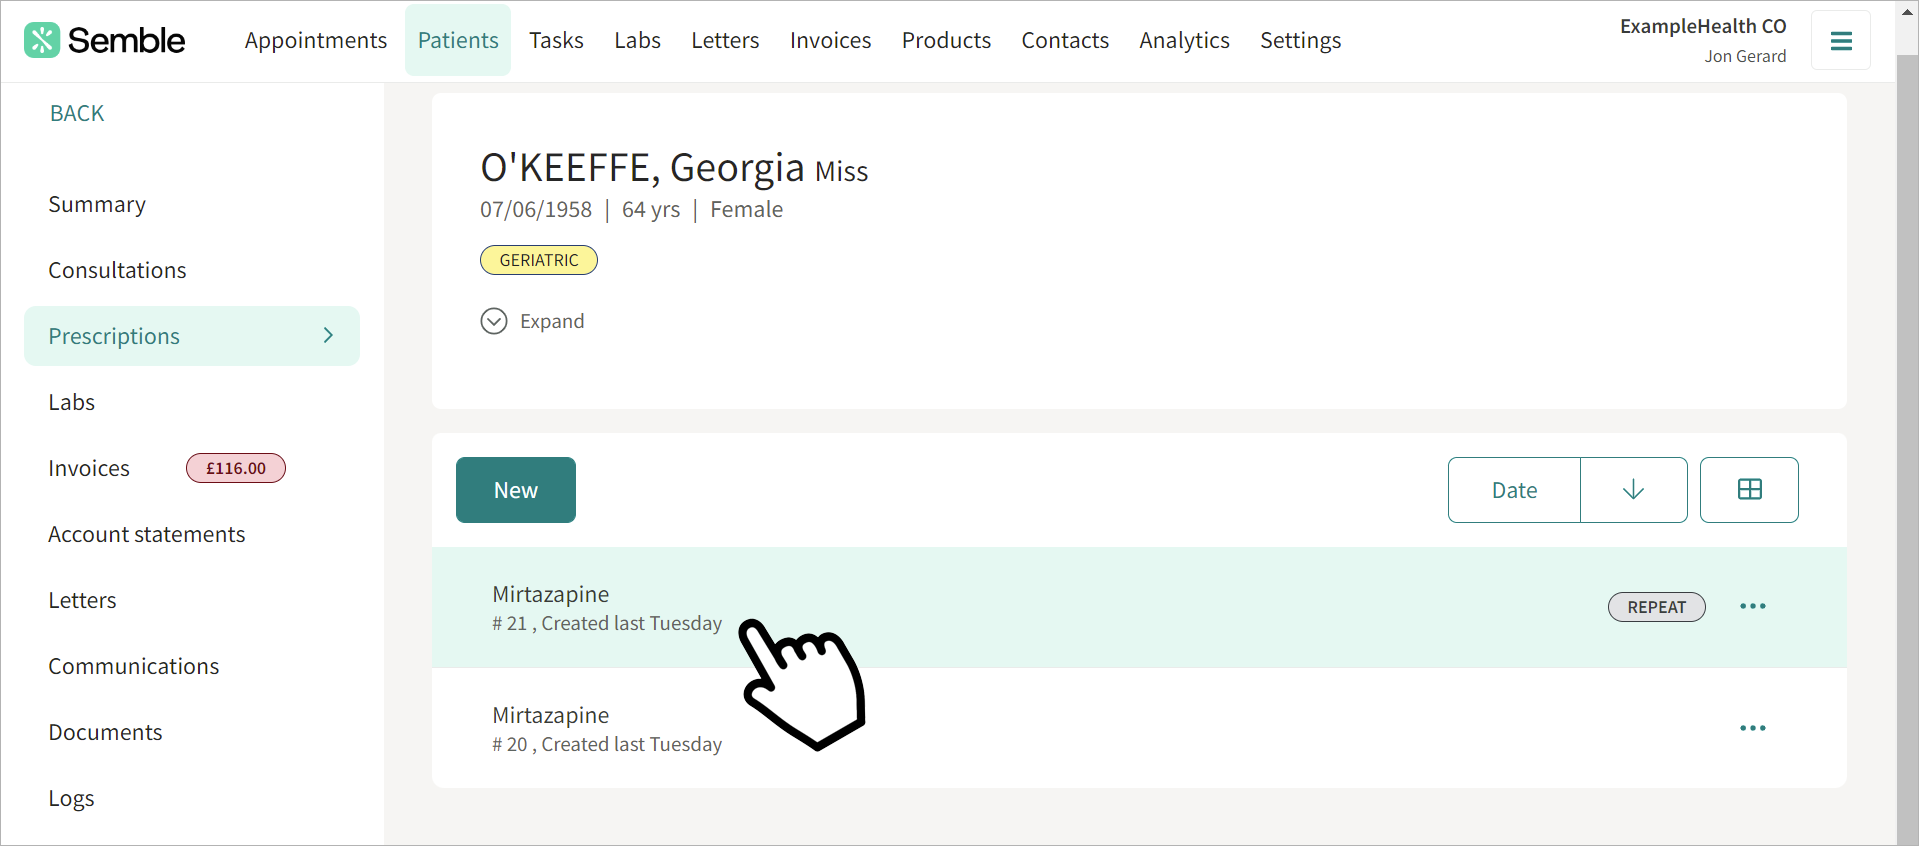
4. Click the prescription integration icon.
5. Select CloudRX from the pharmacy dropdown menu.
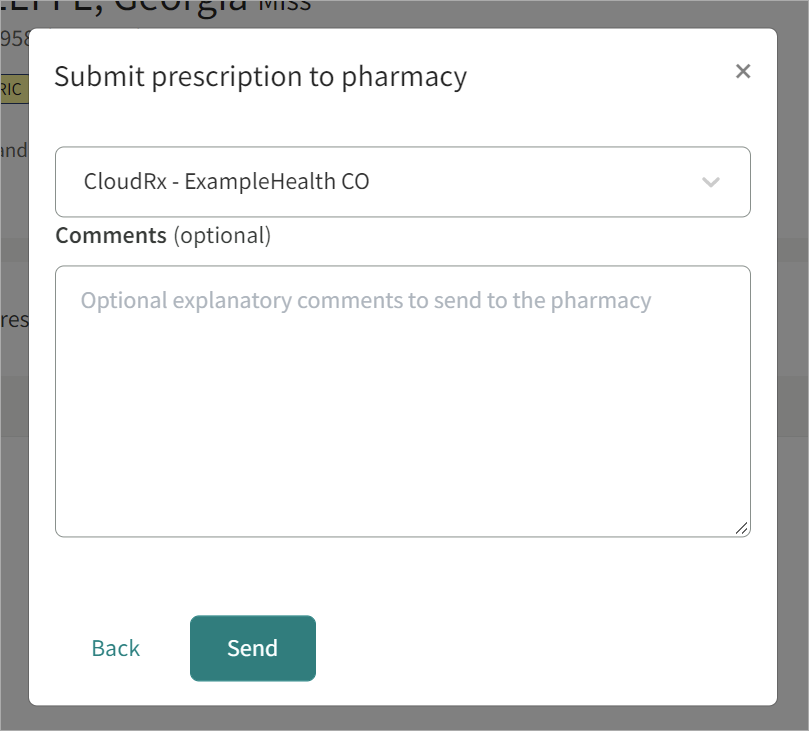
6. (Optional) Add any comments you want for the prescription. Note: These comments will not be displayed in CloudRX.
7. Click Send.
The prescription is sent to CloudRX, and after being processed, the patient will receive notifications for payment.
Patient Notifications
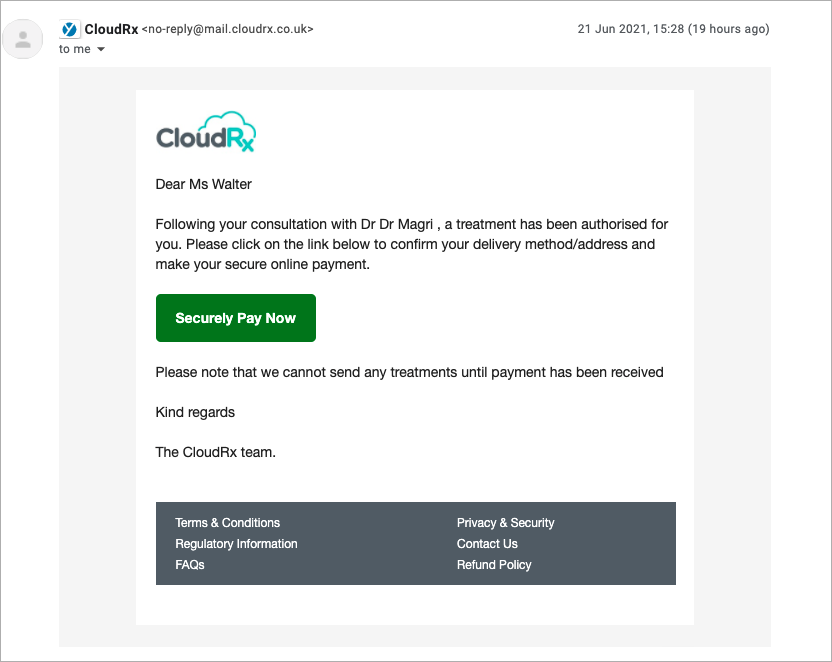
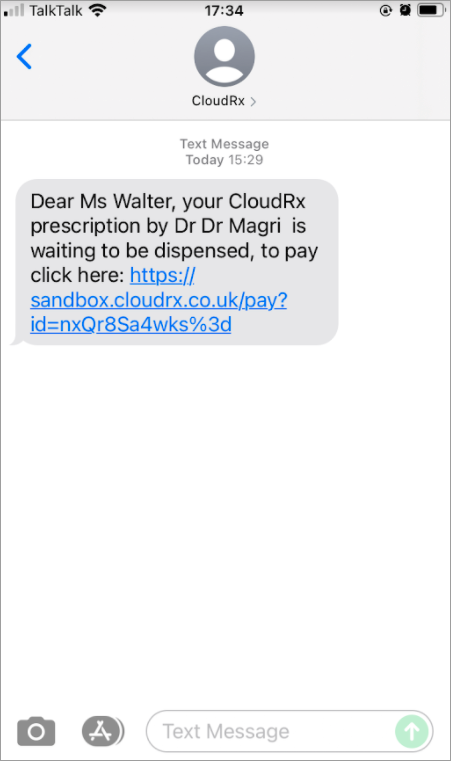
When you submit a prescription to CloudRX, the patient will receive a payment notification by email and SMS.
In the email, patients can click Securely Pay Now to pay for the prescription:
Or in the SMS message, patients can touch the displayed link:
Note: There are no cost implications on our end. However, kindly contact the provider in terms of what they may/may not charge you.
CloudRX Error messages
If the prescription fails to send, you will see an error message as shown below in 3 places: a pop up on the prescriptions page, on the prescription listing page and on the prescription page if the pop up is closed. The reason for the error will be displayed in the pop up.
You can go to the Logs tab in the patient record to see details of the submitted prescription as well as any errors which you may have encountered.
These error messages will appear in the 'Logs' section in the patient file.
Troubleshooting Error messages
- Message rejected: Repeat instalments do not match
- Failed to validate the message with error - Invalid segment name found:
- CloudRx ProductID is missing for Prescribed Item (name of the medication)
Message rejected: Repeat instalments do not match
This message appears when a prescription has two repeat medications that have different intervals and durations.
Fix: Make sure that the repeat medications on a prescription have the same intervals and durations. Or split up the repeat medications into different prescriptions.
Failed to validate the message with error - Invalid segment name found:
This message appears if you attempted to send a repeat medication that is not part of the official CloudRx product list.
Fix: Make sure that when you add a medication to a consultation note or prescription, that it has the CloudRx tag next to it.
CloudRx ProductId is missing for Prescribed Item xxx
This message appears if you attempted to send a standard medication that is not part of the official CloudRx product list or if the medication is out of stock.
Fix: Make sure that when you add a medication to a consultation note or prescription, that it has the CloudRx tag next to it.


